|
Assigning Images to Records
|   |
|
Assigning Images to Records
| |
In order for a record to make use of an image, you must assign that image to it, using an image field. For example, if you have a product created and want a thumbnail image to be associated with it, you will need to assign an image to it's record in the admin interface. To assign an image, you must have a record open in edit mode that contains an image field.
There are 4 ways to assign an image to a record.
Uploading a new image
When you upload a new image using Squirrelcart, it automatically assigns that image to the record you are working on. For instructions on uploading images using Squirrelcart, see the topic titled "Uploading Images" in this section.
Manually entering a path to an image already on your server
1. Enter path to the image file
If you know the path to an existing image that you want to assign, you can type it in the "edit" field. Be sure to make the path relative to your storefront. For example, if your images folder is in your web root, and you have a product image named "cd_player.jpg", you would enter the path like this:
images/products/cd_player.jpg
2. Submit Record
To save changes, click ![]()
Choosing an image already on your Server
1. Click the image selector link
Click the image selector link ![]() , which is to the right of the "Edit" field.
, which is to the right of the "Edit" field.
2. Choose an image
You should see a popup window similar to this:
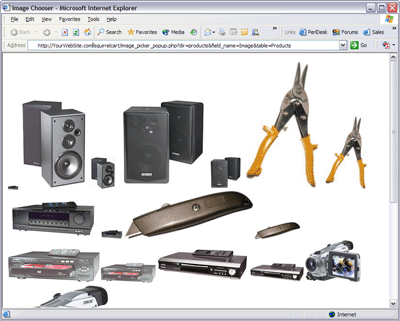
Click on the image you want to assign. The window will close, and the path to the image will automatically be entered in the corresponding edit field.
3. Submit Record
To save changes, click ![]()
Auto generating an image from another image
This option requires the GD extension, version 1.6.2 or newer. For instructions on Autogenerating images, see the "Auto Generating Images" topic in this section.