|
Create MySQL User/DB
|   |
This step is optional. If you already have a MySQL username, password and database, you can skip this topic, and move on to importing the database.
If you are unsure as to whether or not you have a MySQL user account and database already created, you should ask your web host before continuing.
The process for creating a MySQL user and database vary depending on your hosting company. For this reason, we will explain 2 common methods below.
Method 1: Creating MySQL User and Database using a web hosting control panel
Many web hosts provide an interface to manage your hosting account. This interface is generically referred to as a "control panel". Typically, if a control panel is available for your account, the web host will send you a URL, username, and password for it. In the example below, we will describe how to create the MySQL user and database using a popular control panel called CPanel, which is common on many Linux based web servers.
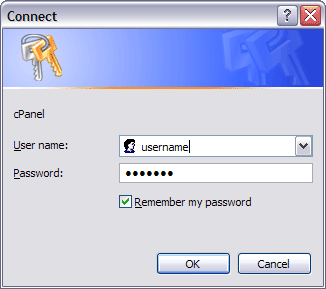
1. Login to your control panel using the information provided by your web host
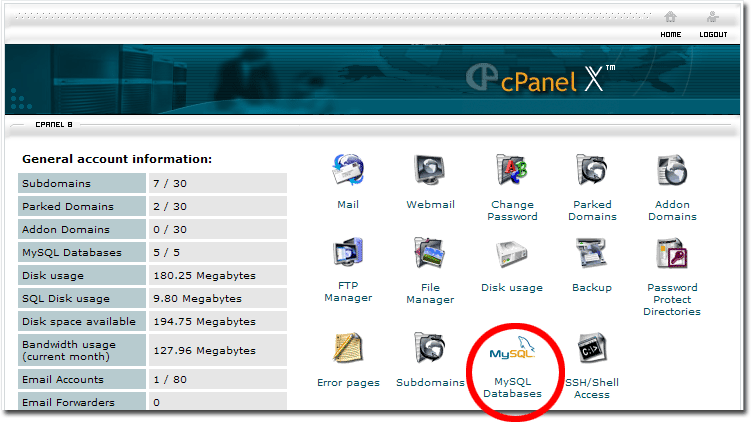
2. Click the "MySQL Icon", which we've circled in the image below
3. Create MySQL user account
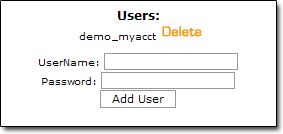
You should see a form that looks like this:

Enter a username and password. Be sure to write it down somewhere, and then click "Add User"
After clicking the "add user" button, you should get a message similar to this:
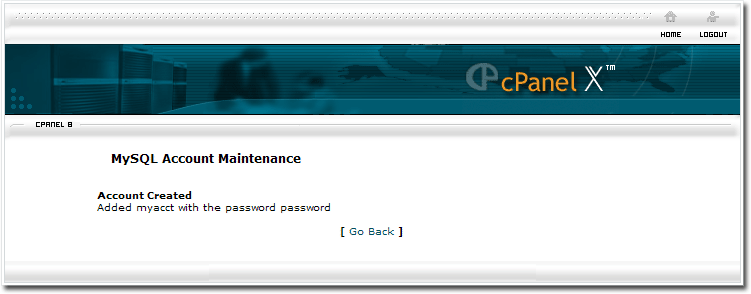
Click "Go Back" to return to the previous page.
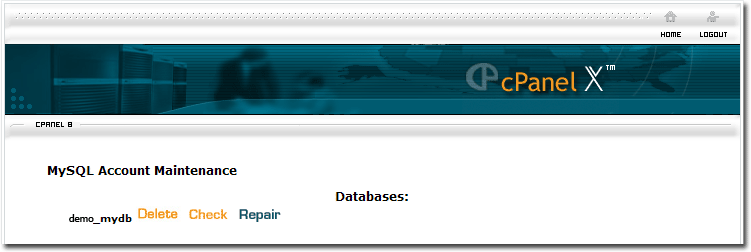
Now, take a look at the users form you used to create the account. You should see your new user account listed above it. Note that in this example, the name of the account is "demo_myacct" even though you entered "myacct" for the new user. Many web hosts prefix the account name you use to login to the control panel in front of the mysql username, to ensure that the account is unique. The name displayed is the true name of the account that you just created. If it differs from what you originally typed in, then be sure to write down the way it appears after creation, as this will be the name we will use later on in Squirrelcart's configuration file.
4. Create the database
Look for a form that is similar to the one below:

Enter a name of your choosing for the database, and click "Add Db". You should get a message indicating the database was created.
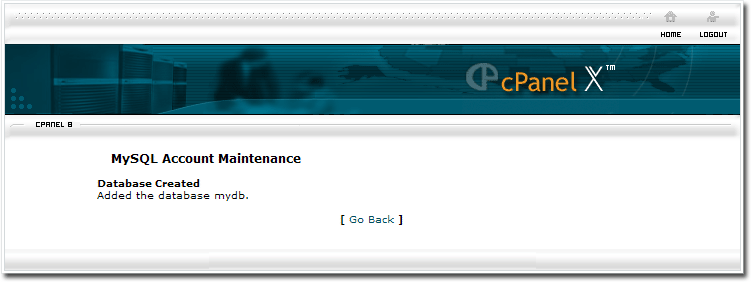
Click "Go Back". Somewhere on that page, you should see your newly created database. Write down the name of the database, as it appears. It may be prefixed with your account name.
5. Grant permissions to the user
You're almost done. You've created the user, and the database. Now you need to assign permissions to allow the user to access the new database. Look for a section that looks like this:

The account needs full rights to the databse. Check the box next to "ALL", and click "Add User to Db".
Method 2: Creating MySQL User and Database using secure shell access (SSH)
1. Connect to your server via SSH
If you are unfamiliar with secure shell (SSH), please see the SSH topic in our glossary. Putty is a free program that you can use to connect to your server via SSH. You can download it from http://www.chiark.greenend.org.uk/~sgtatham/putty/download.html.
Once you have downloaded Putty, launch it. You should see a dialog box similar to this:
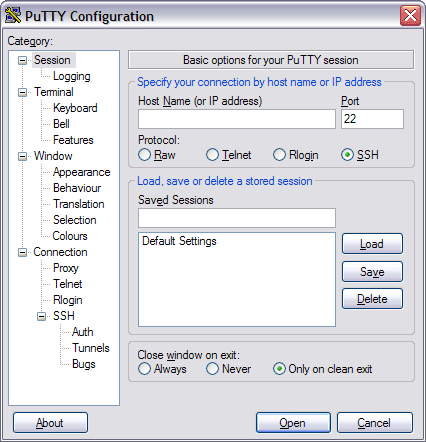
Enter your website's domain name or IP address in the "Host Name" field. Make sure "SSH" is selected in the Protocol section, and click "Open". You will receive a login prompt. Enter the username and password for your hosting account, and you should be left at a prompt. If you cannot login, you may need to contact your web host for assitance.
2. Launch MySQL
After you login, you should be left at a prompt. Our prompt looks like this:
jailshell-2.05a$
Type "mysql -p" at the prompt, and hit enter. You will be prompted for a password. Enter the password and hit enter, and you should see something similar to:
jailshell-2.05a$ mysql -p
Enter password:
Welcome to the MySQL monitor. Commands end with ; or \g.
Your MySQL connection id is 728375 to server version: 3.23.56
Type 'help;' or '\h' for help. Type '\c' to clear the buffer.
mysql>
3. Create the database
To create the database, enter "create database dbname;" where "dbname" is the name you want to call your database. Be sure to make the name unique. Press enter, and you should see:
mysql> create database mydb;
Query OK, 1 row affected (0.23 sec)
4. Add user to DB
You're almost done. Now you need to create a user and assign permissions to allow that user to access the new database. This is done with one command, as follows:
mysql> GRANT ALL PRIVILEGES ON *.* TO 'newusername'@'localhost' IDENTIFIED BY 'password';
In the example above, replace newusername and password with a username and password of your choosing. Hit enter after typing the grant command.
You should now have a MySQL database, username, and password. Continue to the next topic to import your initial database records.