Overview
Checkout by Amazon allows your customers to checkout on Amazon.com, using their Amazon.com user account. When a customer clicks the View Cart button in Squirrelcart, your customer will see the following:

If they click the Checkout with Amazon button, they are taken to Amazon.com to complete the entire checkout process.
If you have no other payment methods enabled, they will only see the Checkout with Amazon button.
Important Considerations
Checkout by Amazon is not just a payment processor. They handle the entire checkout experience, including:
-
Obtaining shipping and billing address information
-
Totalling items in cart
- Adding shipping charges
- Adding tax
- Obtaining payment
- Storing order
Because Amazon is taking over the entire checkout process, the following features/settings in Squirrelcart have no impact on an order placed via Checkout by Amazon:
- Inventory Control
- Taxes
- Shipping rates
- Order storage
 |
When an order is placed using Checkout by Amazon, Squirrelcart will not store the order in your database, and will not email the customer or you to indicate an order has been submitted. |
If you prefer to allow Squirrelcart to handle the checkout process, along with inventory control, taxes, shipping, and order storage - Amazon Simple Pay is a better alternative.
Requirements
Checkout by Amazon user account (no other special requirements)
If you haven't already done so, use this link to signup for your Checkout By Amazon account.
Setup Instructions
- Login to Seller Central using your Checkout by Amazon user account (see above requirements for account signup link):
https://sellercentral.amazon.com - Make sure Web Site is set to Your Checkout Website and NOT Your Checkout Website (Sandbox):

- Click the Settings link
- Click Checkout Pipeline Settings
- Your Merchant ID appears at the bottom. Write it down.
- Click the Edit button
- In the Successful Payment Return URL field, enter the full URL to your storefront page with ?pm_return=23 following it:
http://www.example.com/store.php?pm_return=23 - In the Cancel Payment Return URL field, enter the full URL to your storefront page with ?show_cart=1 following it:
http://www.example.com/store.php?show_cart=1 - Ensure that the field after Shopping Cart Security is checked that reads "Accept only digitally signed XML shopping carts"
- Click the Update button
- Go to the Amazon Web Services website:
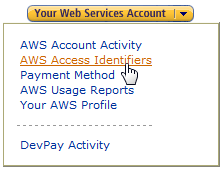
http://www.amazon.com/webservices - Mouse over the button on the right hand side labeled Your Web Services Account, and click AWS Access Identifiers
- You will be prompted to login. Login with the same user account (email address) and password you used for your Checkout by Amazon account
- If you've never logged into Amazon Web Services before, you'll see a message saying You do Not Have an Amazon Web Services Account, like this:
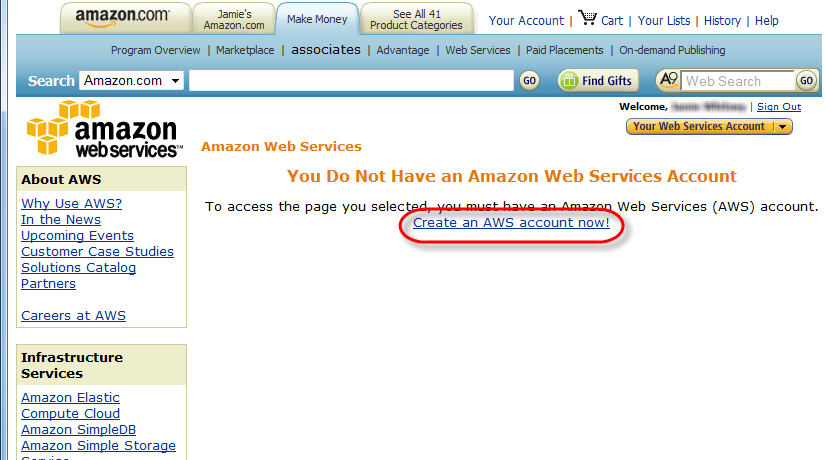
If you don't see this message, skip ahead to step #18. - Click the Create an AWS account now! link (see image above)
- Fill out the form and click continue
- You'll see a page similar to this:
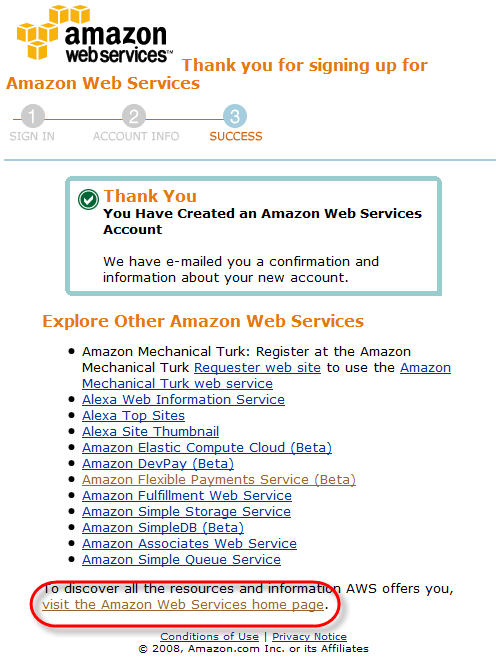
Click the link at the bottom of the page labeled visit the Amazon Web Services home page, or just go here: http://aws.amazon.com - Mouse over the button on the right hand side again labeled Your Web Services Account, and click AWS Access Identifiers
- Towards the right side of the page, you should see this:
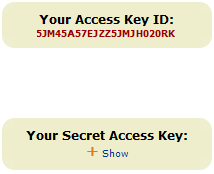
- Click the Show link under Your Secret Access Key so it will appear
- Copy both of Your Access Key ID and Your Secret Access Key (or write them down very carefully!)
- Login to Squirrelcart's control panel
- Click the Payment Methods menu link:

- Click the record row labeled Amazon Payments - Checkout by Amazon
- Enter your Merchant ID in the Merchant ID field
- Enter your Access Key ID in the Access Key ID field
- Enter your Secret Access Key in the Secret Access Key field
- Set the Amazon Mode field to Live
- Alter the Checkout Button * fields if you wish
- Check the Enabled field
- Click

- Shipping and tax rates need to be configured in your Seller Central control panel. Refer to the documentation for Checkout by Amazon for instructions.
© 2001-2009 Lighthouse Development. All Rights Reserved.